About demo classes
How to create a demo class?
You can create demo class to practice using the whiteboard or to rehearse your presentation for the Skill Exchange session.
There is no restriction on the number of demo classes that you can create. However, if there are multiple unsuccessful demo classes, this may initiate a quality review.
You are advised to create a demo class after receiving the student’s confirmation, and in cases where the student does not show up, do not wait for more than 15 mins. If the demo class is scheduled 8 hours before the planned start time, then an automatic system-generated email reminder will be sent to the tutor and student.
Remember that demo classes are free for the student and tutor. Both sides can use the platform for this first meeting. Follow the steps shown below to create a demo class.
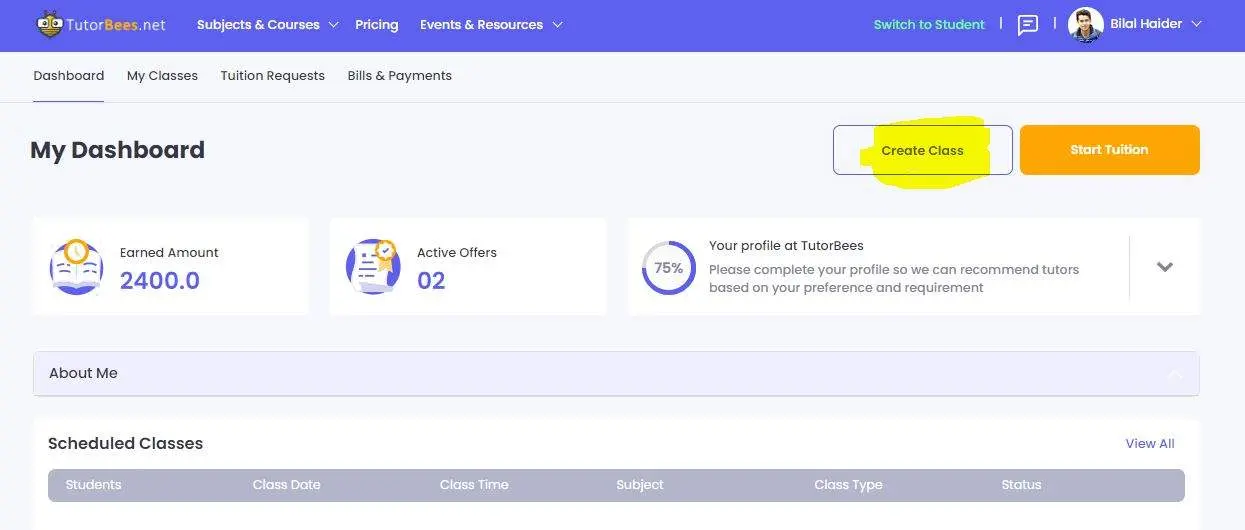
Step 1
On the right side of the Dashboard of your profile you can see the button Create Class. Click the button.
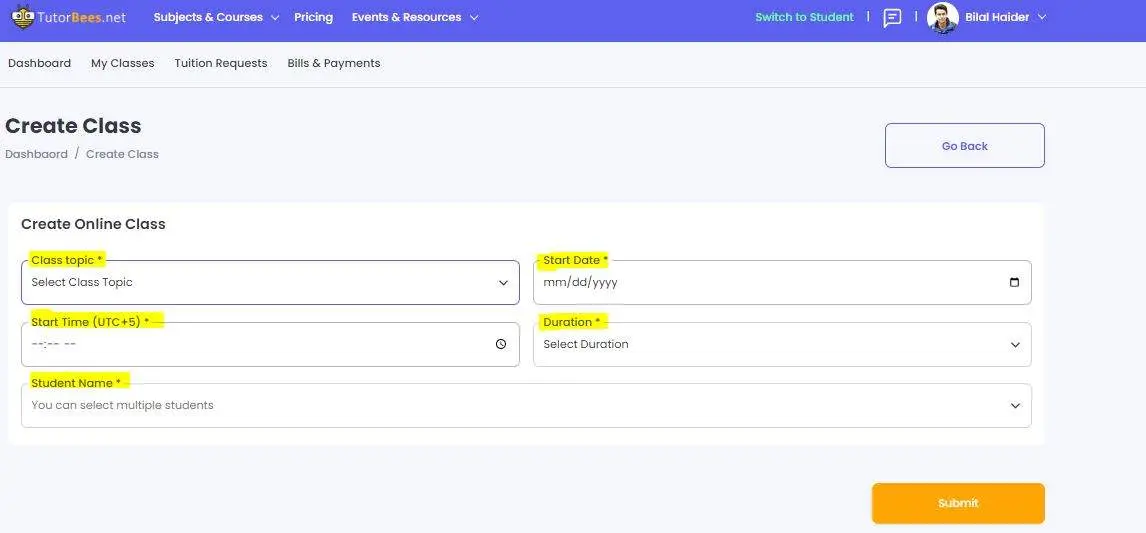
Step 2
- On class topic, you will need to select Demo class from the list.
- Select the date that has been decided.
- Select time that has been decided.
- 1 hour will be the duration that you will select.
- The student name will be visible under Student name section, the one you have sent offer, select the student and add him in the class and click on Submit button and the class will be created.
Demo Credits
Students are required to have demo credits in order to schedule a demo class with you. If a student wants to book a demo but does not have enough demo credits, you will not be able to create a demo class for that student. In such cases, please ask the student to purchase demo credits before proceeding with the booking.
Disclaimer
If you encounter someone or something during a demo or regular class that is inappropriate, please end the class right there and report the incident to admin@tutorbees.net right away. Please note that all the classes are recorded and our team will be able to review and block the account. You can also block that person on your chat window to avoid receiving messages.